Music Production: Reverb

Few things seem to sound so good at first but can turn your track into a bathtub or mud pool in the blink of an eye.

Reverb (short for reverberation) is different from delay. Where separate echoes are always audible with a delay, a reverb consists of a huge number of small echoes that follow each other so quickly that they can no longer be heard separately.

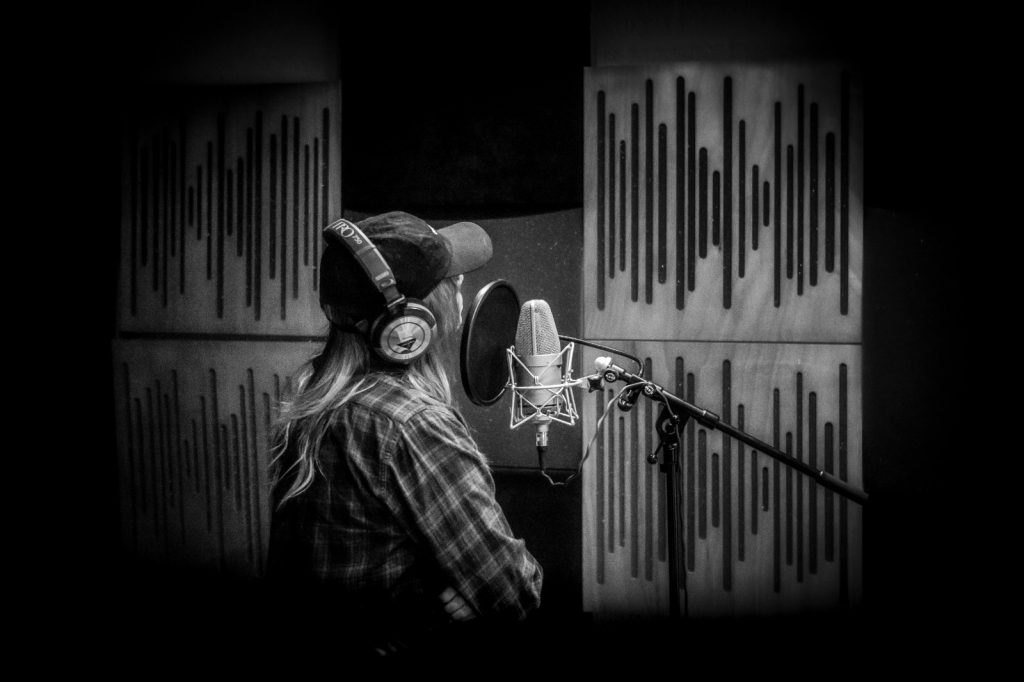
A track without reverb sounds very unnatural and strange. This is because there is always reef around you. We are just usually not aware of it. The walls of your room, or the reflections on cars that drive past you always give a picture of space around you. And that’s exactly what you use reverb for.
With reverb you can specify the size of the space in which elements of your track are located. In addition to depth, reverb can also determine an atmosphere, just think of ambient music, where long reverbs are very common.

With reverb you can give sounds their own place in your track. By adding reverb to elements you can place them more in the background. By giving less reverb to other elements, you bring them out more.

There are many different types of reverb, but the most commonly used are: chamber, room, hall, plate and spring reverbs. The first three refer to physical spaces and speak for themselves. A chamber reverb has a lot of early reflections and a short reverb tail. A hall reverb is often long and big. A room reverb is often in between.

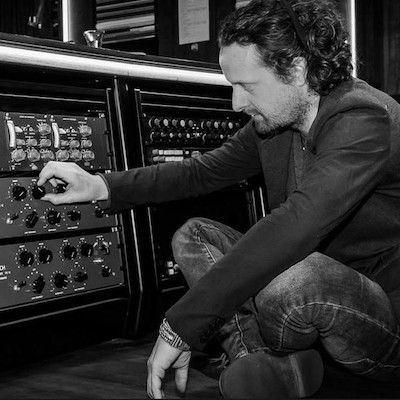
Where the first three are modeled after physical spaces, plate and spring reverbs are modeled after electro-mechanical devices.
A plate reverb is a plate that vibrates with the music. It sounds close in sound and is often used on vocals because of its character.

A spring reverb is an iron spring that you often find in guitar amplifiers. You often recognize the sound in 60s tracks.

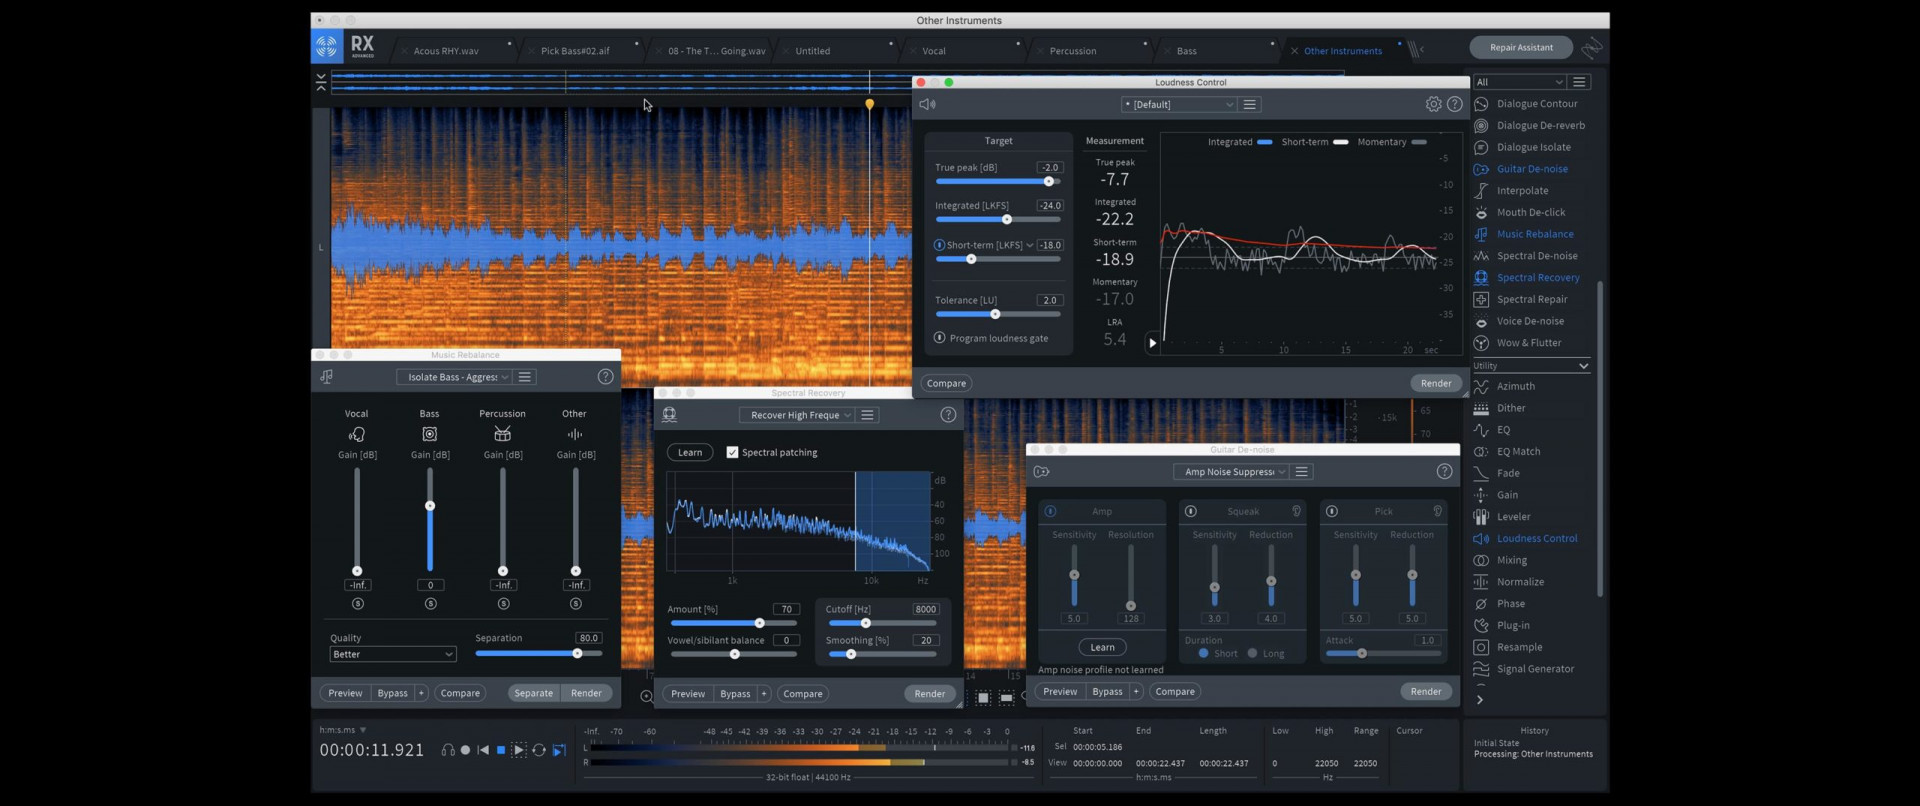
Most reverbs have a number of parameters:

Pre-delay: the time it takes before you hear the first reflections of the sound. The bigger the pre-delay, the bigger the room.
Early reflections of size: Early reflections are the first reflections of a sound. A small room will reflect sound almost instantly. In a church, for example, it takes much longer.
Density: Determines how dense the reverb is. In other words: how much space there is between the early reflections. The less dense, the more natural the reverb sounds.
Decay of reverb time: determines how long the duration for the reverb tail to disappear.

In addition, many reverbs will also have an EQ section. Note that a natural reverb tail never actually has low frequencies. You will therefore have to remove it manually or not.

With reverb often counts: less is more. Turn it around until you just hear it and then back off a bit. Reverb can bring your track together and really put people into your music. Use that!

To read more about Music Production and how to improve the process of developing, creating and refining recorded music visit our knowledge base page Music Production Education.

Music Production Live Drum Processing

Where drum samples are often already fully processed and ready to use, a live recorded drum kit is not.

A good drum sound almost always stands or falls with the recording. Are the microphones in phase, how does the room sound, are the drums tuned and so on and so on.

A typical drum multitrack recording will look like this:

� Kick (possibly divided into a kick in (microphone on the inside of the skin), a kick out (a microphone on the outside of the skin))

� Snare (possibly divided into a snare top (microphone aimed at the top) and a snare bottom (microphone aimed at the bottom)

� Hi hat

� Two overhead microphones

� Two room microphones

Optional:

� Individual microphones for each tom

� Trash microphone (a single microphone to capture the entire kit)

Phase:

Because a live drum recording consists of many instruments all reaching the microphones at different times, there is a chance that some tracks will be out of phase with each other. This means that (part of) the sound will be lost if everything is summed to mono.

Go back and forth, switching between mono and stereo. If part of the sound drops out, the microphones are out of phase. Move one of the tracks just a little bit at a time until the recording sounds ‘fatter’ instead of thinner.

Do this with the snare top and snare bottom, the kick in and the kick out, the overheads, the room mics and then the overheads and room mics with the snare.

Gate:

Drum mics almost always suffer from bleed, where sound from other drums �bleeds� into the microphone. You can remedy this by using a gate. This helps enormously with kick and snare tracks. Adjust the gate until you hear only the drums you want to hear. Adjust the attack so you can hear the drum �pop’ nicely and adjust the release so that the drums have time to ring out.

Since toms are often used sporadically you will usually cut out anything except for the tom hits. In order to eradicate bleed entirely.

EQ:

Remove or reduce the unwanted frequencies. With the kick, snare and toms, it is often the low mids that make it a bit ‘boxy’. With the overheads and the room mics, these are usually the low frequencies.

Boost frequencies to bring out the character of the drums:

Kick: Usually lows and low mids for extra power and high mids for the beater’s snap.

Snare: low mids for a fat sound, high mids for the ‘crack’ of the snare.

Toms: lows for the floor toms, low mids for the rack toms, high mids for the snap.

Overheads: low mids to add some ‘meat’ to the cymbals, high mids for extra presence, highs for ‘air’.

Compression:

Drum compression is a separate topic in itself, but broadly speaking you use the compressor not only to adjust the dynamics, but also to shape the transient of a drum sound.

In general, you use a fast attack to control the transient for a cleaner sound. But if you set it too fast, you’ll squeeze all the life out of your drum kit and push it further back in the mix. Use a slower attack to emphasize the transient of, for example, a kick or a snare drum.

Set the release so that the drums have time to “breathe” before the next hit.

Reverb:

Drums are often sent to a reverb on an aux track. The type of reverb depends on the track, of course. The length of the reverb however depends on the tempo. Try setting the decay time of the reverb tail on your snare so that it is gone before the next snare hit.

Bus compression:

To make your drum kit sound like one instrument, send the entire drum kit through a glue compressor with a low 2:1 ratio, a slow attack, and set the release to match the tempo of your track. Make sure that your compressor does not react too strongly to the low end of the kick drum. If your compressor has a sidechain function, use it so that the compressor reacts less violently to low frequencies.

Saturation and distortion:

At this point your drum kit should sound clean and even. You can always take them a little more over the edge by adding some (parallel) distortion or overdrive.

Automation:

The icing on the cake. Bring your drum kit to life by looking at where and when in the track specific elements of your drum kit need more or less attention.

Always listen in context of the mix and remember that these are only guidelines. Listen carefully to the arrangement and drums and don’t be afraid to get creative.

To learn more about music production and how to improve the process of developing, creating and refining recorded music, visit our knowledge base page Music Production Education.

Music Production: Synthesis and Synthesizers

One of the most important instruments of modern pop music is arguably the synthesizer. This multicolored beast comes in endless shapes and flavors and seems to be able to go in any direction. But what is it?

A synthesizer electrically generates its own sound. An acoustic instrument generates a signal by airflow (wind instruments), by friction or plucking a string (string instruments) or simply by hitting something (percussion). A synthesizer generates its sound through an oscillator.

Most synthesizers have the following sections:

Oscillator (VCO, or Voltage Controlled Oscillator):

An oscillator can create a number of so-called waveforms:

  • Sine: a basic, ‘pure’ waveform, without harmonics.
  • Triangle: similar to the sine wave, but has more harmonics and also sounds a bit sharper.
  • Sawtooth: A clear sound, rich in harmonics.
  • Square: the distance between the different cycles is exactly the same. Sounds a bit more hollow than a triangle wave.
  • Pulse: Similar to the square wave, but the distance between the cycles is not exactly the same, so some synthesizers can adjust the pulse width (the relationship between the cycles). This is called PWM (pulse width modulation).
  • Noise: most synths also have a noise generator.

Most synthesizers have at least two VCOs you can play simultaneously. It is common to have more.

Filter:

The oscillator sends its signal to a filter -VCF (voltage controlled filter). The most commonly found filter is a low pass filter, but most digital synthesizers have more. You will find filters such as high pass, band pass, notch filters and so on. With the filter you determine how much sound you�re letting through.

The filter section also has a second knob or fader: the resonance. The higher the resonance, the more the filter boosts the frequencies around the cutoff point.

Envelopes:

An envelope is a structure that determines the dynamic progress of a sound. You will usually see this divided into four steps: ADSR (Attack-Decay-Sustain-Release).

  • The Attack is the period during which the note is played until it reaches its loudest point.
  • Decay is the moment between the end of the attack until it lands on a stable level.
  • We call that level Sustain. At this point, the note will stay for as long as it remains pressed.
  • Finally, Release is the point from when the note is released until it is completely gone.

Most modern digital synthesizers have at least two envelopes.

One envelope controls the amplitude (volume or intensity) of a sound (also called VCA from Voltage Controlled Amplifier). By adjusting the values ??of this envelope, we can modify the character of the sound. For example, a pad sound has a slow attack, no decay, a high sustain, and often a long release. A pluck has a short attack, a slightly longer decay, a low sustain and a longer release.

The second envelope controls the VCF. This envelope determines how long it takes for the filter to fully open until its cut-off point, how long the filter will stay open, and how long it takes for the filter to close again.

Some synthesizers have extra envelopes that you can freely assign.

LFO:

The LFO (Low Frequency Oscillator) is an oscillator that generates waveforms at such a low frequency that the human ear is unable to hear it. We can use this LFO to modulate other elements.

For example, you can assign the LFO to the tuning of a note, resulting in a vibrato effect.

Like normal oscillators, the LFO can have different waveforms, each with its own character.

You can adjust the frequency of the LFO (and therefore the speed of what its modulating), but also the depth (how much it modulates anything).

The most commonly used form of synthesis is subtractive synthesis (as described above), where you shape the sound by removing or eliminating pieces of sound. There are also FM synthesizers, additive synthesizers, and, increasingly common nowadays, wavetable synths, where every waveform you can imagine is possible.

The possibilities of a synthesizer are endless, but the principles are almost always the same. Using presets is tempting, but it’s even more fun to see how those presets are created and how you can adjust them to your liking!

To read more about Music Production and how to improve the process of developing, creating and refining recorded music visit our knowledge base page Music Production Education.

Music Production-Vocal Production

As a producer you often have to deal with vocals alongside your instrumental. As a singer or an artist you might also want to know how to proceed when you record your own vocals.

It is important to know that no two singers sound the same, no microphone and no track is the same. The principles of mixing always apply, but will rarely be the same twice. Sometimes the order of tools will be different, sometimes you won�t have to use everything. If it sounds good, it sounds good.

When you’re happy with the recorded vocals, get started by first cleaning up the track.

You want to work with the cleanest possible track. Cut out any silences to remove noise from a laptop fan or clothing, or use a gate. To make the compressor work faster later on, manually turn down the loudest parts of the recording by a few dBs, and turn the softest parts a bit up. This way you prevent your compressor from having to work too hard. You might also want to remove breaths (for an unnatural effect) or soften them (for a more natural effect) at some (or all) moments.

Pitch correction and timing: depending on the sound you want, you may or may not want to run your vocals through Melodyne or Autotune. In Melodyne you can adjust pitch as well as timing. Otherwise you might want to do that manually on the track.

Corrective EQ: clean up the vocal where needed. Always use a low cut filter to clean up the rumble of the room. You do this by increasing the cutoff frequency until you start to hear the vocal being affected and then pulling it back a little bit.

Next, see if there are areas in the voice that you want to soften. Be careful with putting a lot of narrow EQ cuts. If you find yourself doing this a lot, you can ask yourself if it isn�t simply the character of the vocal. Doing this excessively can kill a vocal completely.

De-esser: depending on the singer you would use a de-esser. A de-esser is really nothing more than a compressor that only listens to sibilants (loud sounds such as s’s and t’s from 2.5 kHz and higher. Set it so that the s�s will soften. but be careful not to make the singer have a lisp.

Compression: because a vocal is one of the most dynamic elements in your mix, you will often use two compressors in series (one after the other). You do this so that one compressor won�t� have to work so hard resulting in a less natural sound. You will often use a compressor with a fast attack and short release to control the peaks. The second compressor is often one with a slow attack and slow release to balance the overall vocal. A well-known combination is an 1176 and an LA-2A opto-compressor.

Additive EQ: you can optionally use an EQ to give color to a vocal. You can boost pleasant frequencies of a vocal, such as some mid range for warmth or 20 kHz for some ‘air’. Make sure you do this with a wide Q.

De-esser: you will find that sometimes you need to use a second de-esser. By using a compressor you it�s possible that some s�s will have become more or too present.

A different byproduct of compression can be that breaths are amplified too much. You might need to go back in your chain to draw them back a bit where necessary.

At this point you should have a good clean and balanced vocal. Nothing stands in the way of adding all the flavours you might want: from saturation, to phasers and chorus and of course delays, reverbs. You name it.

To read more about Music Production and how to improve the process of developing, creating and refining recorded music visit our knowledge base page Music Production Education.

Music Production-Sampling

The art of sampling dates back to the 1960s. Fragments of music were recorded from vinyl and later tape and placed in other songs. It has been very emblematic of the emergence of genres such as hip op, drum and bass and house. Many lawsuits have been filed for this, but it has become an indispensable part of modern music.
In the 1970s, entered the consumers market, such as the Fairlight CMI. Large and clumsy devices. Later, drum computers such as the Oberheim DMX and the MPC from Akai emerged. Today, anything is possible in your DAW.
Perhaps the most famous example of sampling is the Amen Drum Break, which has been sampled by thousands of artists.
Other than sampling and looping a beat, you can also slice the beat even further into the individual drum sounds and create a new beat. There are no limits. Downpitching, stretching, bitcrushing, use anything to make it your own. You don’t have to limit yourself to drums either, but sample a vocal to create a vocal chop, or throw a guitar part through a granular sampler and turn it into a synth.
Each sampler has one or more envelopes that you can use. Play with the attack and sustain of the amplitude for dramatic change of the characteristics of the sample.
With sampling you always have to deal with the copyrights of the original sample. Producers are often no longer concerned with the question: ‘Can I sample this?’ but rather: ‘How do I get away with it if I sample this?’.
Another option is to replicate the sample. You bypass the master owner’s rights and have much more creative freedom.
Sampling by now has been elevated to an art form and it is often no longer even about the sample itself, but about how creative you are with it and what you make of it. And in the end, that’s the key to every track.

To read more about Music Production and how to improve the process of developing, creating and refining recorded music visit our knowledge base page Music Production Education.

Music Production: Modulation and Movement

Your track has been mixed, your tracks are compressed and EQ�d to your liking, you just bought the most beautiful reverb ever on Black Friday, but your track still sounds static. You need to get moving!
Life isn’t perfectly aligned, so why should your tracks be? There are many ways to give your tracks extra life, or to add that extra bit of production value.

LFOs:
Most synthesizers you use will have an LFO. Are you sure you’ve used them all? If you�ve still got a spare one, why not use it set the fine pitch control or the pulse width of the second oscillator a little bit in motion?
Did you no that the use of LFO�s isn�t simply restricted to synthesizers? Use an additional LFO plugin to adjust the modulation of your reverb, or the color of the saturation on a track. The possibilities are truly endless.

Chorus:
An example of a common effect controlled by an LFO. It is created by taking an audio signal and mixing it with delayed copies of itself. The pitch of those delayed copies is usually modulated by an LFO.
Typical use for a chorus is on a guitar or synth, but try using it on a send with a reverb or delay, giving your reverb or delay a different character. Or put it on a hi-hat pattern and experiment with the frequency and the mix knob.

Flanger:
A flanger is an effect where two signals are mixed together. One signal is played back slightly delayed with a slightly different delay duration. This produces a comb filter effect.
Use it on a drum track or over a heavily distorted electric guitar. Sync the rate with the BPM of your track, or not at all.
For a dramatic effect, you can also put it directly on a vocal.

Phaser:
With a phaser, a signal is split in two. The second signal is passed through an all-pass filter, which reverses the phase of a lot of frequencies. When merging, the frequencies that are out of phase cancel each other out.

Auto Pan:
An auto pan (the name says it all) sets the panning of your track in motion. Automate the amount (how far it goes from left to right) and the rate (the speed of movement) slightly for dramatic effect. Or link another LFO to the rate or phase knob.
Put it on an aux before a reverb to soften the effect of the panning. Put it on an aux after the reverb to immediately hear the effect in action.
Or automate the amount of panning on the reverb tail of your snare hit: make it duck with each hit to exponentially increase in size between snare hits.

There are many more effects than these just mentioned. It especially gets interesting when you start combining them. Be creative, step out of your comfort zone and use them at unexpected moments. There is no producer police, so who is going to tell you not to put a tremolo on your vocal bus.

To read more about Music Production and how to improve the process of developing, creating and refining recorded music visit our knowledge base page Music Production Education.

Music Production: Mixing with EQ


If you�d ask 100 music producers which tool they use most 99 out of 100 would mention an EQ. Although equalizers (EQ for short) are the most common used tools, they are also the most commonly misused tools. Which can lead to a bad mix and sleepless nights.

With an EQ you can adjust the volume of a frequency of range of frequencies. This way you can remove unwanted or boost wanted frequencies of a sound. You do this by means of a cut or a boost, to eventually produce a balanced sound.

An EQ divides the frequency spectrum in so called bands (ranges of frequencies). From low to high they are:

� Low cut filter (or high pass filter)
� Low shelf filter
� Bell filters (depending on the EQ you either have a fixed number of bell filters, or you aren�t limited to a certain amount)
� High shelf filter
� High cut filter (or low pass filter)

With each filter and band you can manipulate a number of parameters. With �frequency� you determine the area you are affecting. With �gain� you decide how much you are boosting or cutting. The final parameter �Q� or �peak� determines hoe narrow or broad the band of frequencies is you are selecting. A low Q means a broad range, a small Q means that only a small area is affected.
To know how to use an EQ, it is good to know how every frequency are sounds like.

Sub bass (20-60Hz)
Exactly the right amount of sub bass will make your track feel powerful. Too much will make it undefined and muddy.

Bass (60-200Hz)
In this area the most common instruments are kick drums, bas guitars and synth basses. But don�t be mistaken: lots of other instruments are in this area as well Too little bass and your track will sound empty, too much and it will control your mix.

Low mids (200-500Hz)
This area contains most of the power of your chordal and melodic instruments such as piano�s, synths, guitars and vocals. Even more: so much is happening in this area, that this area often needs to be treated with care the most. Too many low mids and your track will sound muddy, too little and your track will lack power and body.

Mids (500-1500Hz)
Too many mid frequencies will give your track a boxy feeling. Not enough and your instruments will lack definition and sound thin.

Upper mids (1500-5000Hz)
Just like the upper mids this is a critical area of your mix. The attack of your guitar or the crack of the snare are often here. Even the �click� of your kick drum is around here. Too much of this area and your mix will sound shrill, even unto the point of being painful.

High end (5 kHz-12 kHz)
Here lies the �brilliance� and sparkle of your track.

�Air� (12 kHz-20 kHz)
Just like the sub bass these frequencies are more felt than heard. This are can add a transparent sheen of high and.

Some final tips:
Keep your low end tidy, but don�t overdo it. If you take away too much your mix will sound hollow or shrill. But just like your low end, you also want to clean up your high end. Not all instruments need high frequencies!

To read more about Music Production and how to improve the process of developing, creating and refining recorded music visit our knowledge base page Music Production Education.

Music Production Mixing with Compression

Apart from EQ, the second most used tool in music production is probably the compressor. Because unfortunately (or luckily?) we can�t make our music infinitely loud, or because some instruments can go from very soft to very loud in a very short time, we use compressors.
A compressor is a tool to control the dynamic range of a sound. You can do this by making the loudest part softer (downwards compression) or make the softest part louder (upwards compression).
Let’s start with an important example: vocals. If you look at the waveform of a vocal, you can immediately see that a vocalist has a massive dynamic range. This means that the vocals in a mix will be completely overpowering in some places and completely disappear in other spots. To make the vocal consistent and audible, we use compression.
With a compressor you will make the loudest parts of the vocal recording softer. Which in fact makes the entire vocal a bit softer. The final step is to bring the entire track back to its old level. You have now made the entire vocal recording louder.

A compressor as several parameters to adjust in order to be able to do his job properly.
First the threshold: arguably the most important setting to dial in. This setting determines at what level the compressor will start working. This is often referred to in +/. At a threshold of -20 dB a compressor will start working as soon as a part exceeds a loudness of -20 dB.
Ratio: the ratio determines how hard your compressor will compress when the threshold is exceeded. At a ratio 2:1, for every 2 decibel over the threshold only 1 decibel will be let through. At a ratio of 4:1 the compressor will only let 1 decibel through for every 4 decibels over the threshold.
In other words: the high the ratio, the harder the compressor is working.
Gain Reduction (or GR): This not a setting, but a meter that will tell you how much compression is actually happening.
Attack: Displayed in milliseconds (ms), this determines how fast the compressor starts working after the threshold is exceeded.

A fast attack will immediately start compressing the first peak. A slow attack often only starts working after the initial peak. This way you can emphasize the punch or transient of a sound.
Release: Also in milliseconds, this determines how long the compressor continues to operate after the sound has returned below the threshold. A release set too fast can result in a �pumping� sound. A slow release often sounds more natural, but can also cause the compressor to continue running for too long.

Compression has a steep learning curve before you are finally able to hear what you’re looking for. But once you’re there, don’t be afraid to think outside the box with extreme settings, which can often yield interesting results.

To read more about Music Production and how to improve the process of developing, creating and refining recorded music visit our knowledge base page Music Production Education.

Music Production Mastering

Where mixing is about balancing individual parts, tightening rhythmic elements and emphasizing important sections in a track, a mastering engineer looks at the big picture. He or she listens to the stereo mixdown and thinks about what else is needed to improve the sound. He corrects levels and balance and ensures that the track sounds good and consistent on every medium and on every format.


In an ideal world, a mastering engineer is a trained engineer in a specially equipped studio. Nowadays many producers prefer do it themselves. And although it is always the better option to have a second pair of ears doing the mastering, it is equally important to at least know how it works.


Start listening to the track from beginning to end at a normal volume. Then listen to it a second time and take notes. Does the mix sound too shrill, does it have too many low frequencies, could the vocals come out a little more? Make a decision about what the master’s sound should be.
Use a reference track to keep your ears fresh. During the process, take a five to ten minute break at least every 40 minutes.


Typical mastering tools are:
� Compressors, limiters and expanders: to adjust the dynamics of the mix;
� Equalizers: to shape the sound of the mix;
� Stereo imaging: to clean up the stereo image of the low frequencies, or to make the stereo image a bit wider;
� Exciters, saturation: to give color to a mix. Exciters add even or odd harmonics to a mix and can give life.
� Limiters, maximizers: to prevent the mix from clipping;
� Metering: While it’s essential to use your ears, you use meters a lot to get visual feedback on the stereo image, frequencies and dynamic range.
� Dithering: Used to convert high-resolution files (32 or 24 bit) to lower bit depths (for example 16 bit or mp3) while preserving dynamic range and minimizing distortion.

No mastering chain looks the same, but it could look like this:

Corrective EQ: Correct frequencies where necessary, but try to keep the cuts small. If you find that you need to cut more than 3 dB somewhere, you are altering the essence of the mix.
Compression: The next step is to control the dynamics of the track. Start with a ratio of anywhere between 1.2:1 to 2:1, the slowest attack and fastest release setting and aim for around 1-2 dB gain reduction. Adjust the attack and release to the character and tempo of the song. Compensate for the gain reduction with the make up gain.
Additive EQ: boost frequencies that benefit the mix. Use a filter with a wide Q and boost max 3 dB. Do the lead vocals need to come out of the mix a little more? You may only need to boost around 3 kHz in the middle. Should the pads have a little more air? Boost 20 kHz on the sides.
Colour: the following applies: don’t do it if the mix doesn’t need it. One option to color the mix is saturation. This ranges from a tape emulation to an exciter. Harmonics are added that make the mix sound fuller and lively. But keep the gestures small. You can quickly destroy the dynamics of the mix.
Stereo correction: correct the stereo image if necessary. Preferably use a multiband stereo imager such as Ozone, so that you will only adjust there where necessary.
Limiting: set the output level to -1 dB and boost the input gain until you get 1-3 dB gain reduction. As with the compressor, you set the attack and release time to match the tempo and feel of the track.

Your master should now be loud enough and consistent in dynamics and frequency range. Remember that mastering is all about subtle gestures. You are building on the artistic choices of a producer or mixing engineer.
Most importantly, listen and act with intent. If your order is different than described above, that’s okay! Then you have made a choice that was necessary for your track!

To read more about Music Production and how to improve the process of developing, creating and refining recorded music visit our knowledge base page Music Production Education.

Music Production: Digital Audio Workstation (DAW)

Since the dawn of time, people have been looking for something to differentiate themselves from others. Think religion, political preference, your taste in movies, whether you use a PC or Mac, and nine times out of ten in music production it’s about the DAW you’re using.
Before you start arguing with anyone about why Ableton is better than FL Studio, remember that it’s not really about your tools. It’s about the person who uses them.
Still, the right DAW can make a difference for you as a producer or songwriter. Each program has its own characteristics and its own workflow. Are you just starting to produce? Any DAW will eventually work for you, but some might just be a little bit better. Almost all of them have a free trial, so use that!

Before you make a choice, ask yourself:

What genre of music do I mostly make?
� Will I mainly be working with live or virtual instruments?
� Do you want a program with many samples or do you prefer to record your own?

Still in doubt? Here’s an overview:

Ableton: Ableton is in its essence made for electronic music. With the session view you can quickly create a track from a loop. In addition, it is also designed for live performance. Of course, Ableton also has an arrangement view that allows you to produce a piano ballad just as well.

Logic: Like everything from Apple, Logic Pro X is incredibly intuitive. It has a clear layout, but under the hood are all the, if not more, functions that you want from a DAW. It is an Apple exclusive, but that means it works perfectly within the Apple ecosystem.

Pro Tools: Pro Tools is the industry standard. Probably nine out of ten studios in the world will work with Pro Tools. Pro Tools is mainly designed for live recordings and mixing. If you work with live instruments, you will find everything you need here.

FL Studio: FL Studio is a favourite among hip hop and EDM producers. With a built-in drum sequencer, the DAW leans a little more towards electronic music. Still, it’s a hugely intuitive and versatile DAW.

Reaper: Reaper is a DAW that you can completely set up to your preferences. You can adjust every function you see. Do you want to work in Reaper but want it wo work exactly like Ableton? Same shortcuts as Pro Tools? Reaper is extremely versatile. Be aware that Reaper does not come with virtual instruments. You will have to purchase those yourself.

Cubase: Cubase is a favourite when it comes to film scoring and music composition. With incredibly extensive midi functions, it is a favourite among film composers.

Don’t let your music genre rule your choice of DAW. If you’re into indie rock, but FL studio’s workflow feels best to you, go for it. Choose the program in which you prefer to spend all hours of your day!

To read more about Music Production and how to improve the process of developing, creating and refining recorded music visit our knowledge base page Music Production Education.