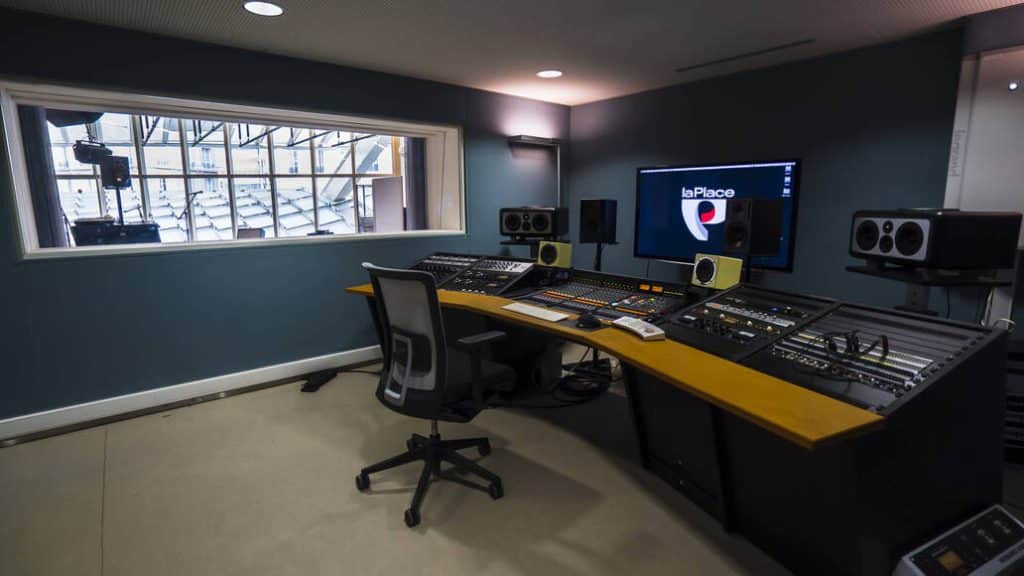
Intro to studio monitors

Studio monitors are fundamentally different than consumer loudspeakers. Those loud speakers often have a boost in the low and high end to make everything sound more ‚hyped‘ and bigger than life.
In your studio that is something you want to avoid at all costs. You want your monitors to have an honest and flat representation of what you’re doing. A flat response might not sound as sexy, but it will make your mix translate better to other mediums.
Flatter is better
The human hearing goes from roughly 20Hz to 20Khz. As you’re getting older, this range gets smaller from the outside in. A good studio monitor has a frequency response from 40Hz to 20Khz.
If you were to make a graph of the frequency response of consumer grade loudspeakers you would probably notice a bump in the lower and upper frequencies. Studio monitors are aiming for a completely flat curve.
If you look at the specs of studio monitors it will often say something such as ‚40Hz – 20Khz +/-1dB/2dB‘. This means that the deviation of the frequency response can be as much as 1 or 2 dB higher or lower. Most monitors are coloured in some way, because it is extremely difficult to get it completely flat. The more expensive the monitor, the smaller this deviation is.
What makes a monitor?
A monitor is made out of the following parts:
Cabinet: the housing of the monitor. Often made out of a rigid material to prevent it from vibrating with the sound and thus impacting the frequency response;
Tweeter: the smallest driver that plays the higher frequencies of your monitor;
Woofer: the biggest driver that plays the lower frequencies of your monitor;
Bass reflex port: some monitors have an opening on the back to let air pressure out. This helps with the distribution of low end energy to have a better translation in those frequencies;
Main input: this is an XLR input, but sometimes a TRS input is added.
Other controls: you often find an on/off switch, a dedicated EQ section (to adjust your monitor to your space) and often a volume knob.
Choices, choices, choices
It probably won’t surprise you that the prices of monitors can go quite high. The most expensive studio monitors can cost up to €80.000. Each. You can say there is quite a bit of choice between low budget monitors and those.
Next to that you have the choice out of active and passive monitors. Passive monitors need an external amplifier, while active monitors have their own internal amplifier. For you home studio I would advise to you to get a set of active monitors. It will cut down some of the cost, and the amplifier is made specifically to work together with the monitor.
Third and finally you have the option between nearfield, midfield, and farfield monitors. In other words: those monitors are created for specific distances between the listener and them. Most (home) studio’s will tend to use nearfield monitors, because more often than not, the listener is closer to them.
Monitoring position
It is important to properly position your monitors in your space, but also mind your monitoring position.
Always put monitors at least half a meter from the wall, because the reflections from the wall will prevent a flat frequency response.
Place the monitors apart in a way you will get a equilateral triangle with the monitors and your head each being a point of that triangle.
Make sure your ears are level with the tweeters.
You often see people putting their monitors on their sides just because it looks cool. Make sure you only do this with monitors that are actually made for this position. Monitors that are built to be in an upright position will have a completely distorted frequency response when put on their sides.
Monitor power
Monitors come at a range of power. Louder doesn’t necessarily always mean better. In a small space you wouldn’t need a monitor with massive power.
When purchasing a monitor look for the term Maximum SPL or Sound Pressure Levels. This indicates how loud a monitor can be before it starts to distort. This is measured in dB. Aim for monitors between 85 and 110dB SPL.
Speaker sensitivity also matters. This tells you something about the volume you get for that power. The higher the sensitivity number, the louder your monitor will be. Aim for at least 88dB, but even better above 100dB.
Finally there is the signal to noise ratio, in short S/N. Again, the higher the better, because that means you have a louder signal relative to the noise a monitor makes.
When buying a monitor pay attention to frequency response, power and size. Too small won’t help you, but too big will do more harm than good in a small space. Yet try to buy a monitor as good as you can get within your budget. It is a purchase you make for a lot of years, so it’s good to look ahead. Treat yourself once in a while.